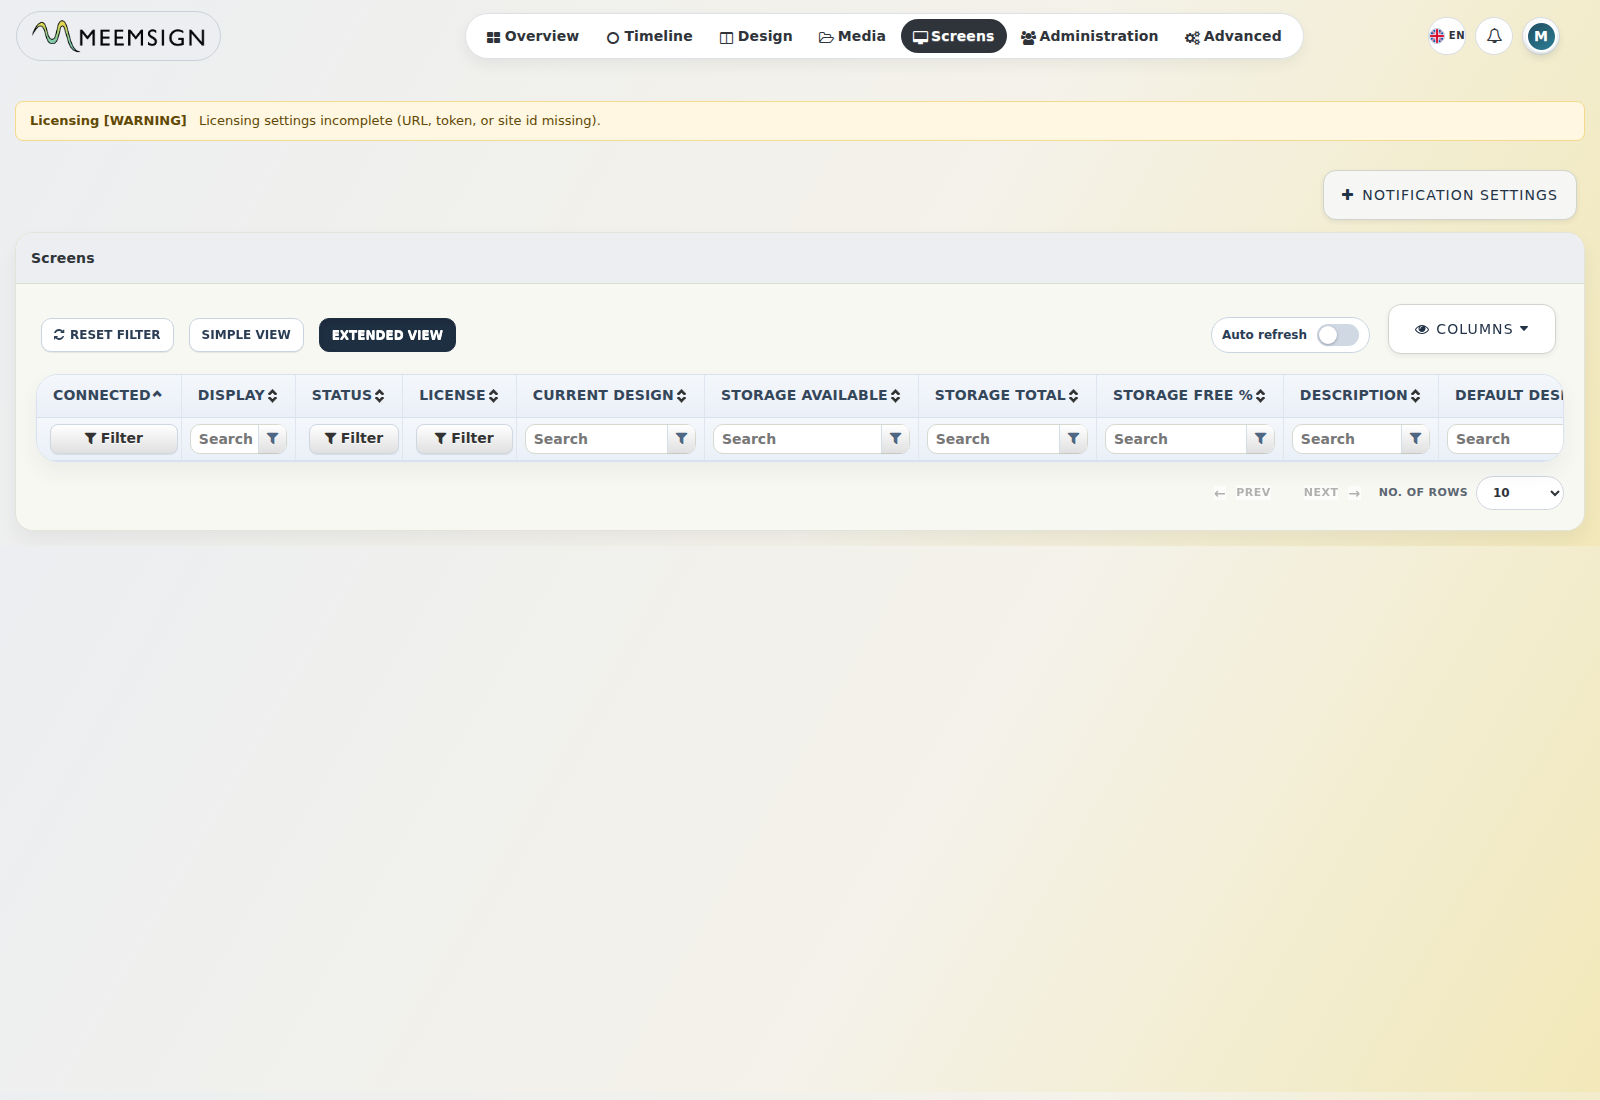
6. Screens / Device Management
The Screens module manages signage players and display devices.
6.1 Open the Screens List
- Go to Screens.
- Use filters such as name, MAC address, screen group, version, and logged-in status.
- Review columns such as screen name, status, version, license, and last access information.
6.2 Edit a Screen
- Go to Screens.
- Locate the target screen.
- Open the row action menu.
- Select Edit.
- Update required fields such as screen name, description, default design/layout, location, alert settings, screen settings profile, and auditing options.
- Click Save.
6.3 Set a Default Design/Layout for a Screen
- Open Screens.
- Open the screen action menu.
- Select Default Layout or edit the screen.
- Choose the default design/layout.
- Save the change.
Note: a default design is shown when no scheduled content is available.
6.4 Manage Screen Membership
- Go to Screens.
- Select the target screen.
- Open Member Of.
- Assign or remove screen group membership.
- Save.
6.5 Request a Screenshot from a Screen
- Go to Screens.
- Open the target screen action menu.
- Select Request Screenshot.
- Confirm the request.
- Refresh later to review the latest thumbnail if supported by the player.
6.6 Wake on LAN
- Go to Screens.
- Open the target screen action menu.
- Select Wake on LAN.
- Configure broadcast address, CIDR, secure-on value, and wake time where applicable.
- Submit the command.
6.7 Notification Settings
- Go to Screens.
- Open Notification Settings.
- Configure notification enable/disable, down threshold, recipients, sender email, SMTP server details, and excluded screens or groups.
- Use Test Connectivity to validate mail delivery.
- Save.
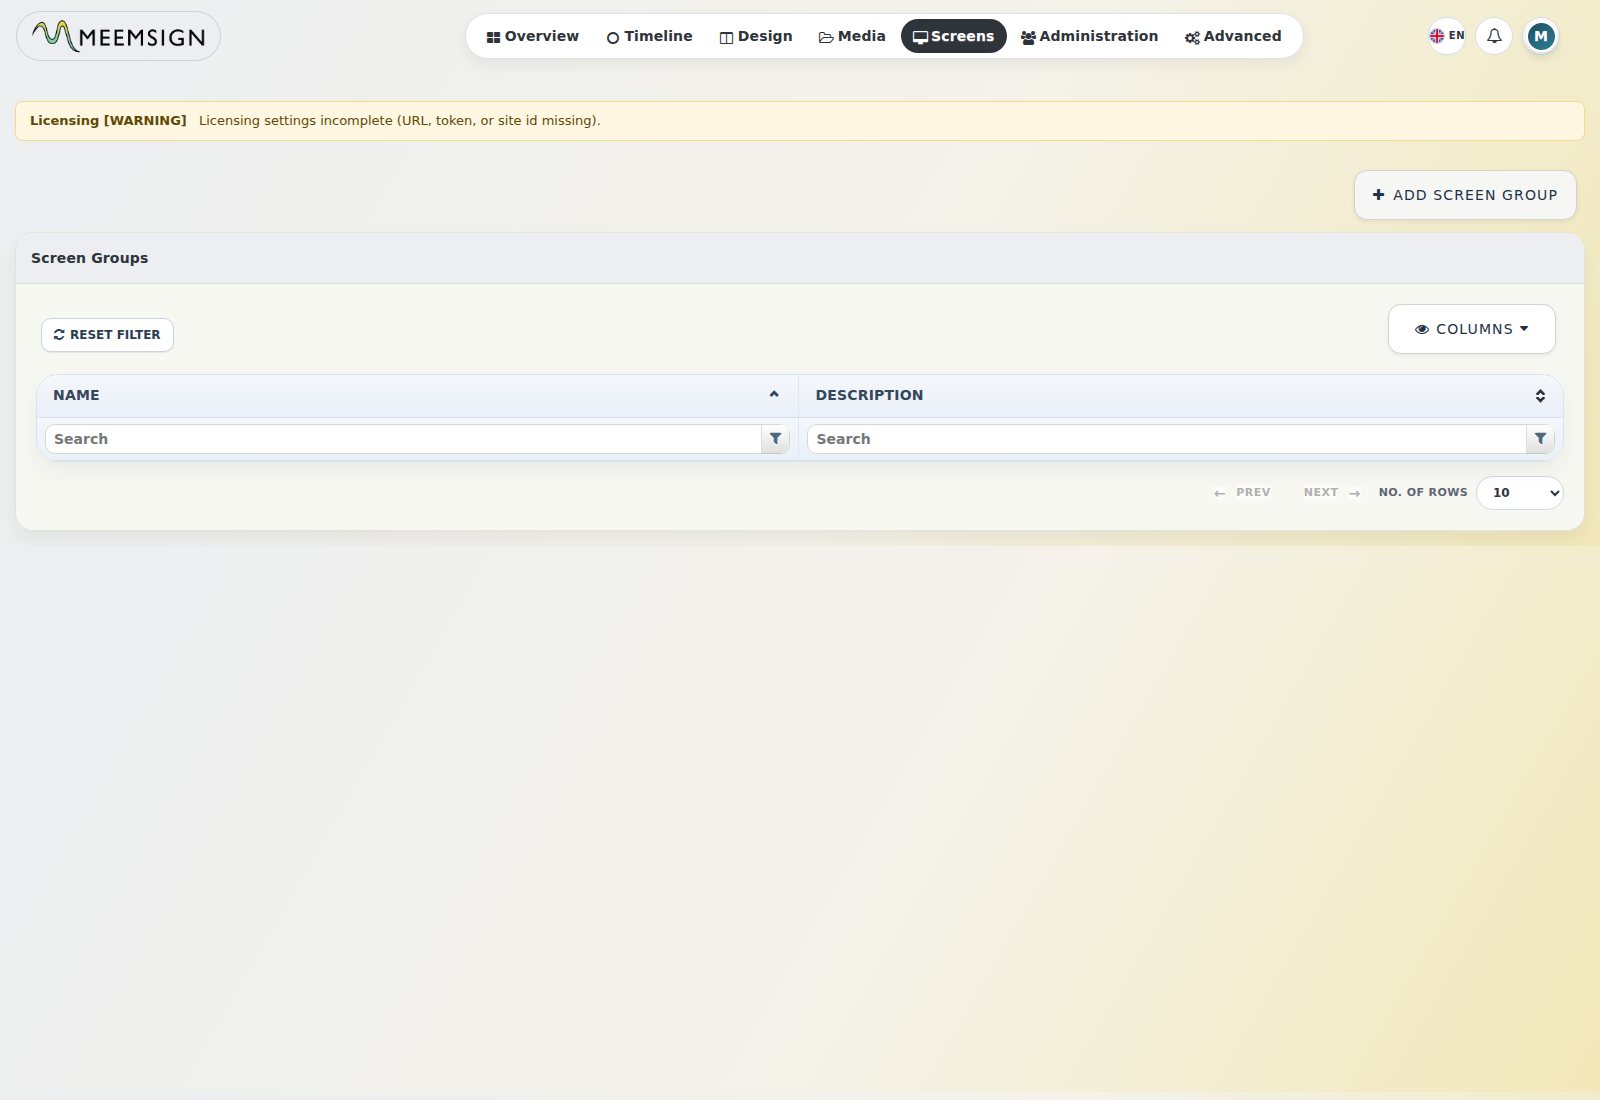
7. Screen Groups
Screen Groups organize multiple screens for scheduling, permissions, and file assignment.
7.1 Create a Screen Group
- Go to Screen Groups.
- Click Add Screen Group.
- Enter the name and description.
- Click Save.
7.2 Manage Group Membership
- Go to Screen Groups.
- Select a group.
- Choose Members / Manage Membership.
- Assign or unassign screens.
- Save.
7.3 Assign Files to a Screen Group
- Go to Screen Groups.
- Open a screen group action menu.
- Select Assign Files.
- Select library items to associate.
- Click Assign.
7.4 Configure Version Instructions
- Go to Screen Groups.
- Open the target group action menu.
- Select Version Information.
- Set upgrade/version instructions for clients.
- Save.
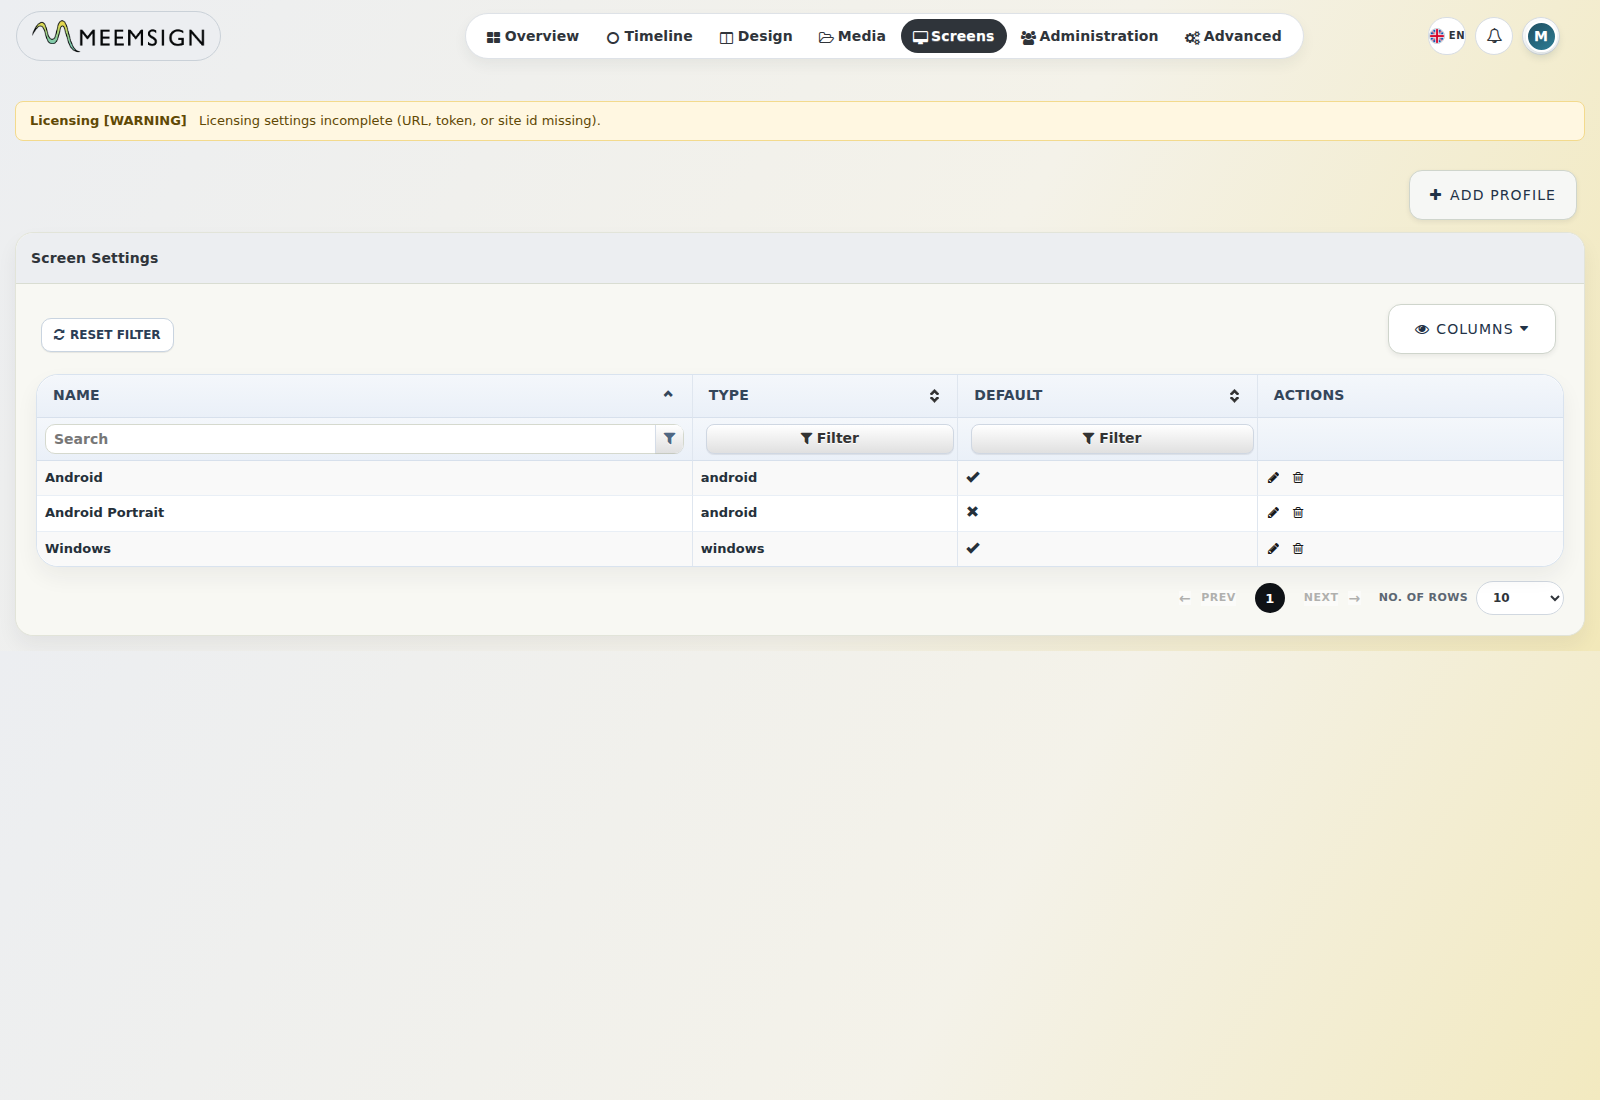
8. Screen Settings Profiles
Screen Settings profiles define client-specific configuration for supported player types.
Windows
Android
Tizen
webOS
8.1 Add a Screen Settings Profile
- Go to Screen Settings.
- Click Add Profile.
- Enter the profile name.
- Select the client type.
- Choose whether it is the default profile.
- Save.
8.2 Edit a Screen Settings Profile
- Go to Screen Settings.
- Open the profile action menu.
- Select Edit.
- Modify profile or client configuration settings.
- Save.
9. Media Library
The Media module manages uploaded assets and reusable content.
| Supported Types | Examples |
|---|---|
| Standard assets | Image, video, local video, PowerPoint, generic file, font |
| Dynamic modules | Text, ticker, webpage, embedded content, clock, counter, dataset view |
| Extended items | Shell command modules and enabled social/forecast integrations |
9.1 Open the Media Library
- Go to Media.
- Use filters such as name, owner, type, retired status, duration, tags, and thumbnails.
- Review columns such as thumbnail, name, type, duration, size, revised status, retired status, and permissions.
9.2 Add Media
- Go to Media.
- Click Add Media.
- Browse or drag and drop the file.
- Wait for upload completion.
- Add metadata such as name, tags, duration, or ownership details if prompted.
- Save or close the upload dialog.
9.3 Edit Media
- Go to Media.
- Locate the media item.
- Open the row action menu.
- Select Edit.
- Update metadata and permissions as required.
- Save.
9.4 Assign Media to Groups
- Go to Media.
- Open the media item action menu.
- Select Permissions or the assignment-related action.
- Select the user groups that can view, edit, or delete the media.
- Save.
9.5 Download or Delete Media
- Go to Media.
- Use the row action menu.
- Choose Download to retrieve the file.
- Choose Delete to remove the item where allowed.
- Confirm destructive actions carefully.
9.6 Media Cleanup
- Go to Media.
- Click Media Cleanup.
- Review the warning that unused or unnecessary media may be deleted.
- Confirm only during a maintenance window or after backup.

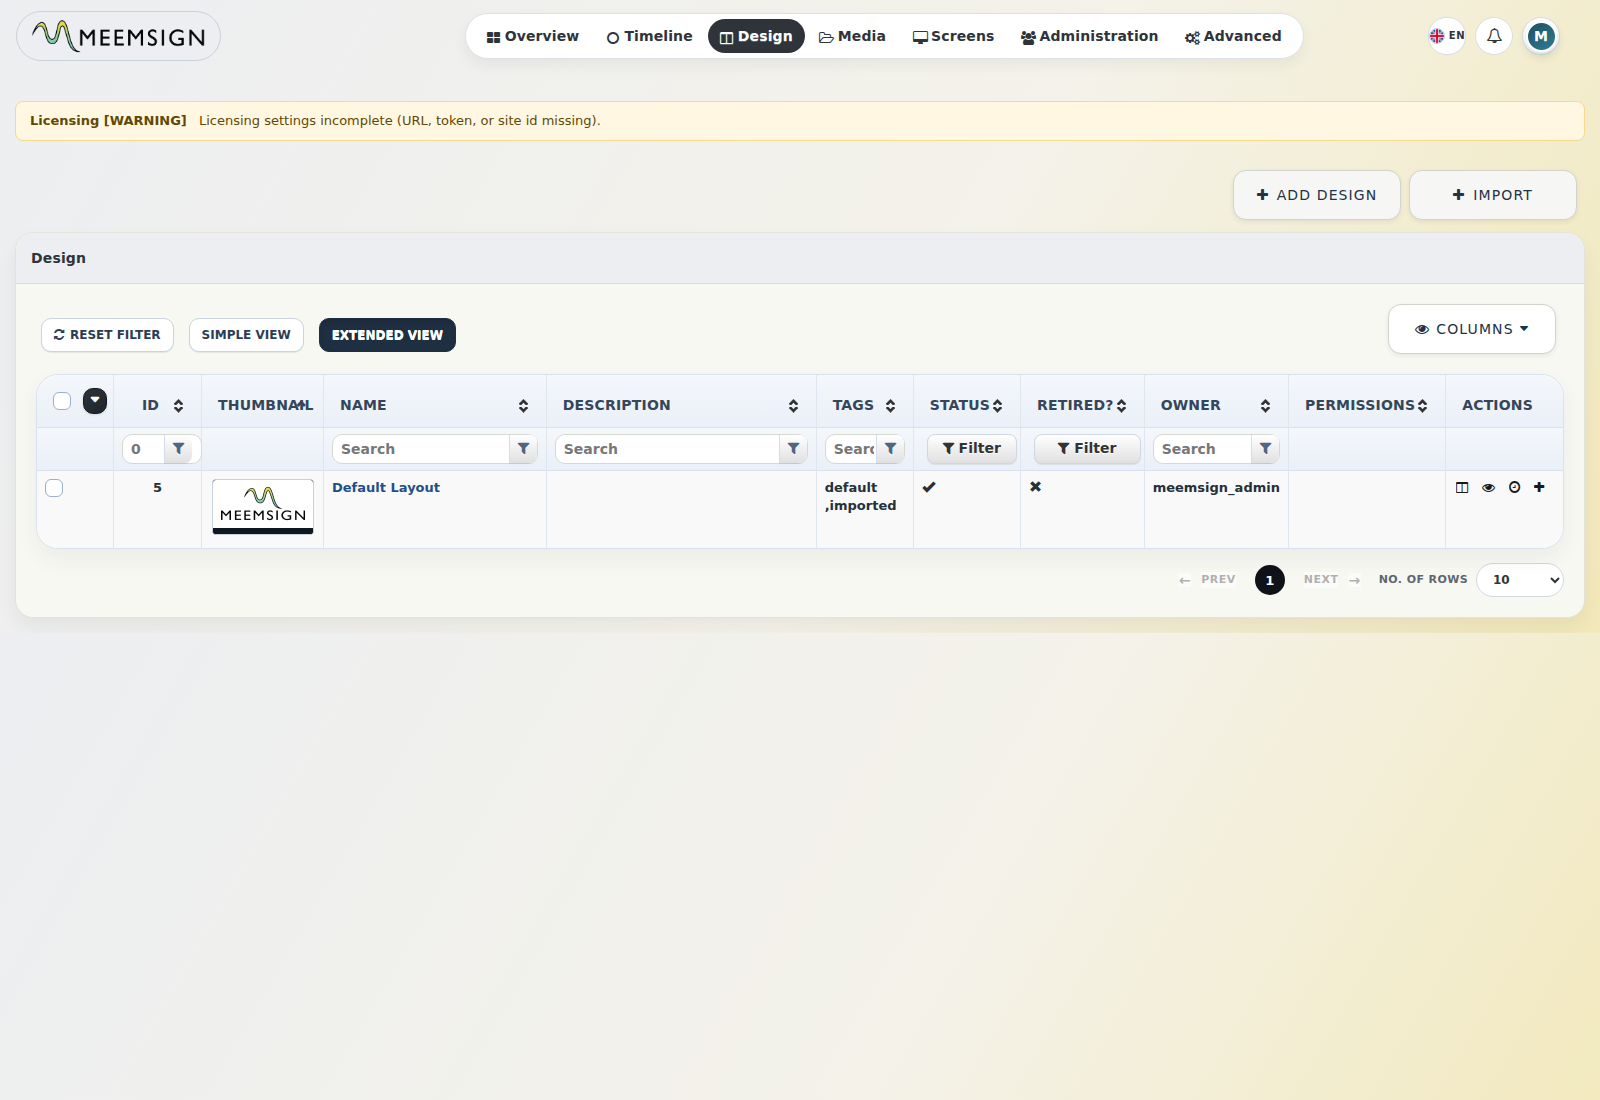
10. Designs / Layouts
The Design module is the primary content design area.
10.1 Create a Design
- Go to Design.
- Click Add Design.
- Enter the name, description, tags, retention policy, template if used, and resolution.
- Save to open the designer.
10.2 Edit Design Properties
- Go to Design.
- Locate the design.
- Open the action menu.
- Select Edit.
- Update metadata and save.
10.3 Use the Design Designer
- Open a design in edit or design mode.
- Add regions to the canvas.
- Use region tools to set position, size, layering, and options.
- Assign media to each region from the library.
- Configure media duration and transitions.
- Save changes.
10.4 Configure Design Background
- Open the design action menu.
- Select Background or Change Background Properties.
- Choose a background color.
- Optionally select a background image from the library.
- Save.
10.5 Preview a Design
- Go to Design.
- Open the row action menu.
- Select Preview Design.
- Confirm the design displays as expected.
10.6 Copy, Export, Import, Retire, or Delete a Design
- Copy - duplicate a design, optionally copying media.
- Export - download a design ZIP package.
- Import - import a design ZIP package.
- Retire - hide the design from normal active lists.
- Delete - permanently remove the design where permitted.
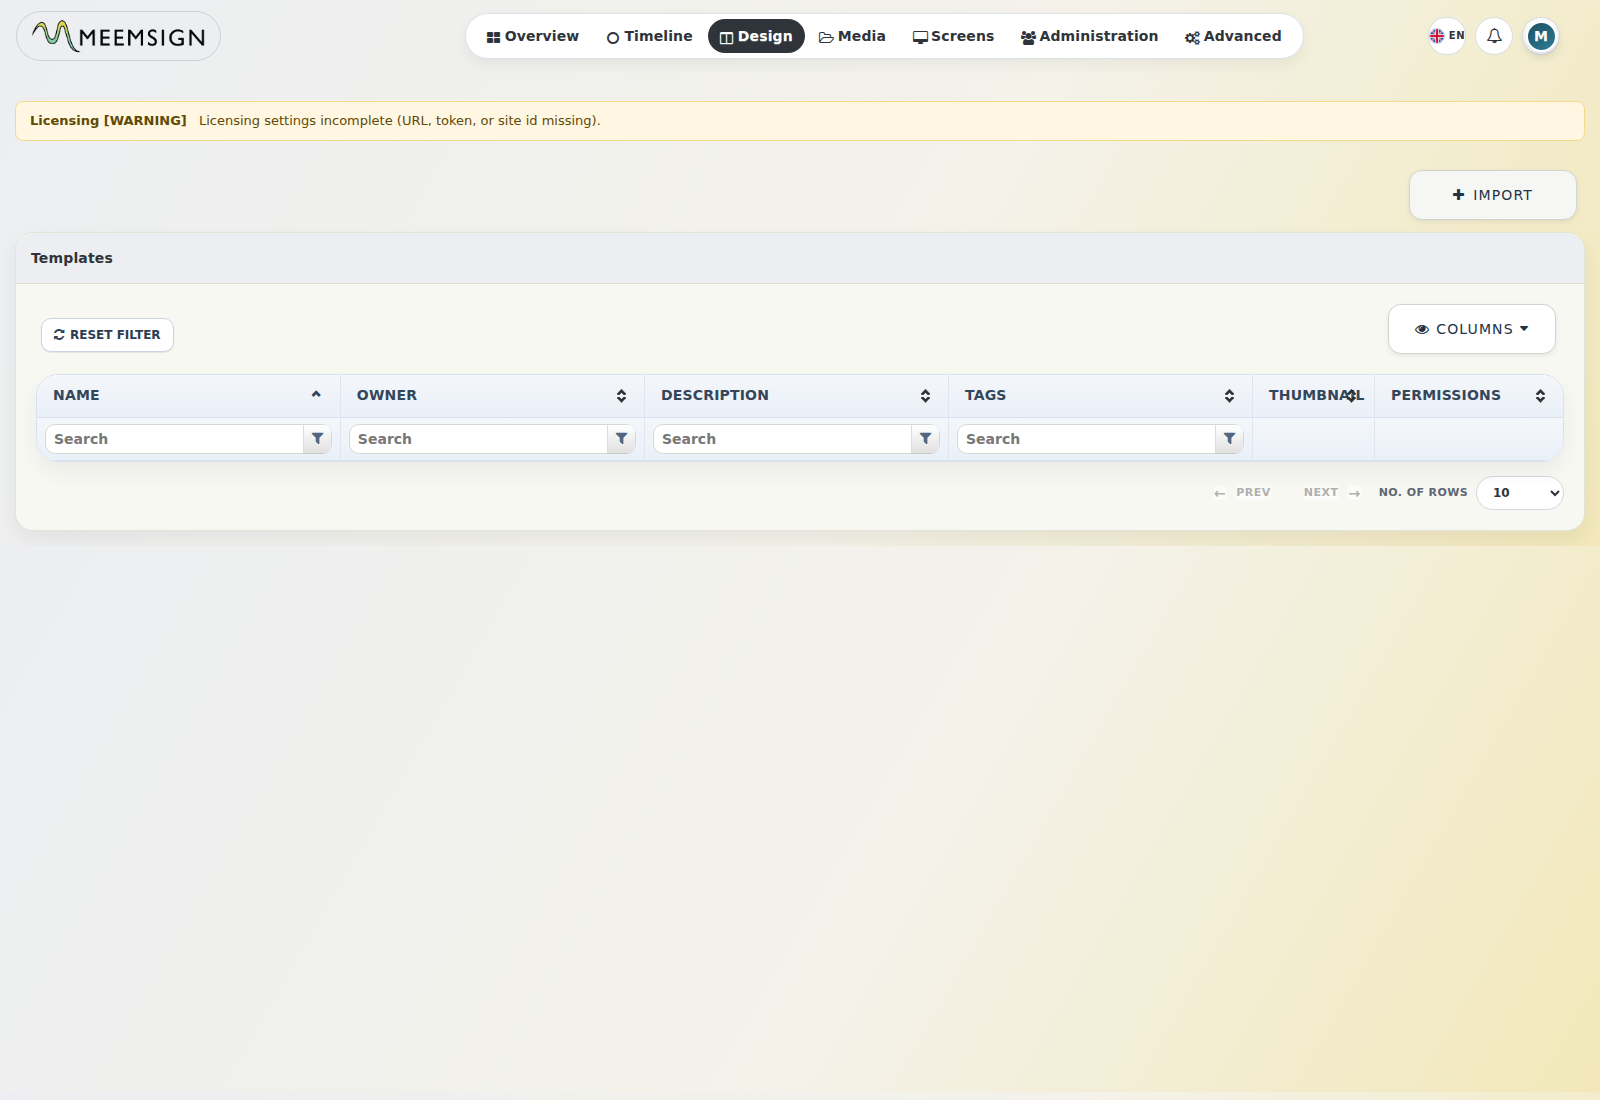
11. Templates
11.1 View Templates
- Go to Templates.
- Use filters such as name, tags, owner, and thumbnail visibility.
- Review template thumbnails and descriptions.
11.2 Create or Save a Template
- Open the design or template form.
- Enter template name and description.
- Choose whether to retire the template.
- Save.
11.3 Import or Export Templates
- Go to Templates.
- Use Import to upload a ZIP package.
- Use Export from a template action menu to download a package.
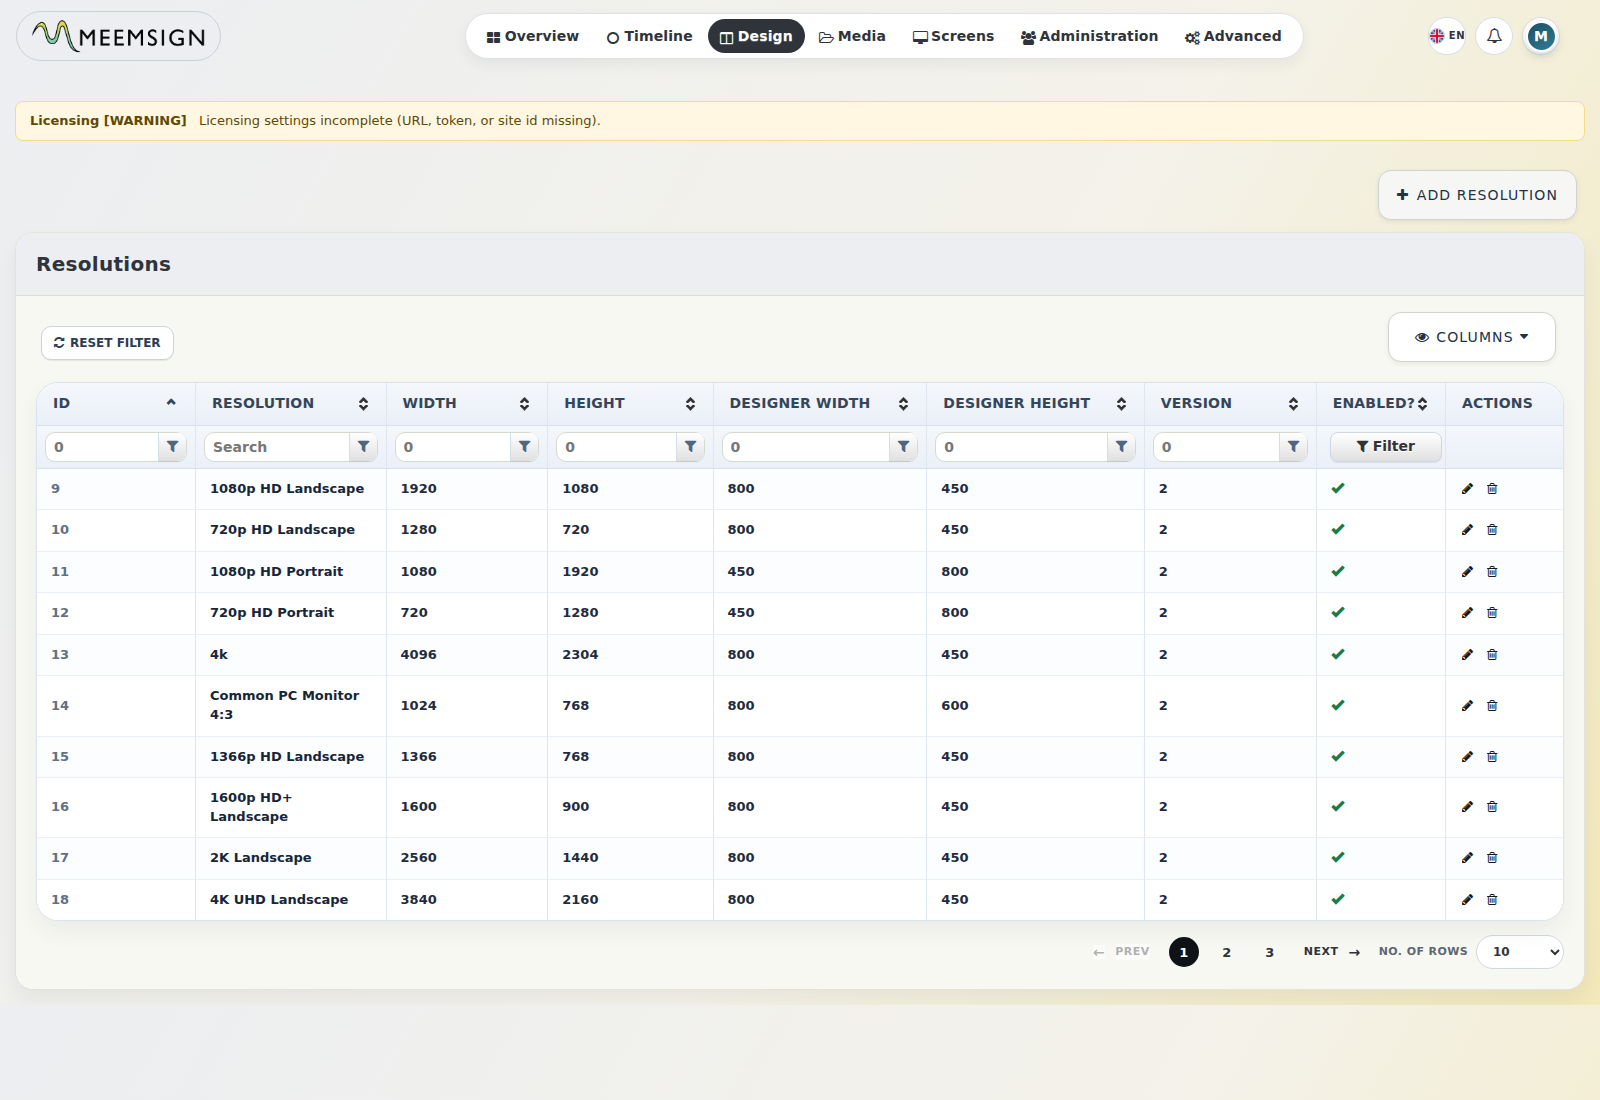
12. Resolutions
12.1 Add a Resolution
- Go to Resolutions.
- Click Add Resolution.
- Enter resolution name, width, height, designer width, designer height, and enabled status.
- Save.
12.2 Edit or Delete a Resolution
- Go to Resolutions.
- Open the resolution action menu.
- Select Edit or Delete.
- Confirm changes.
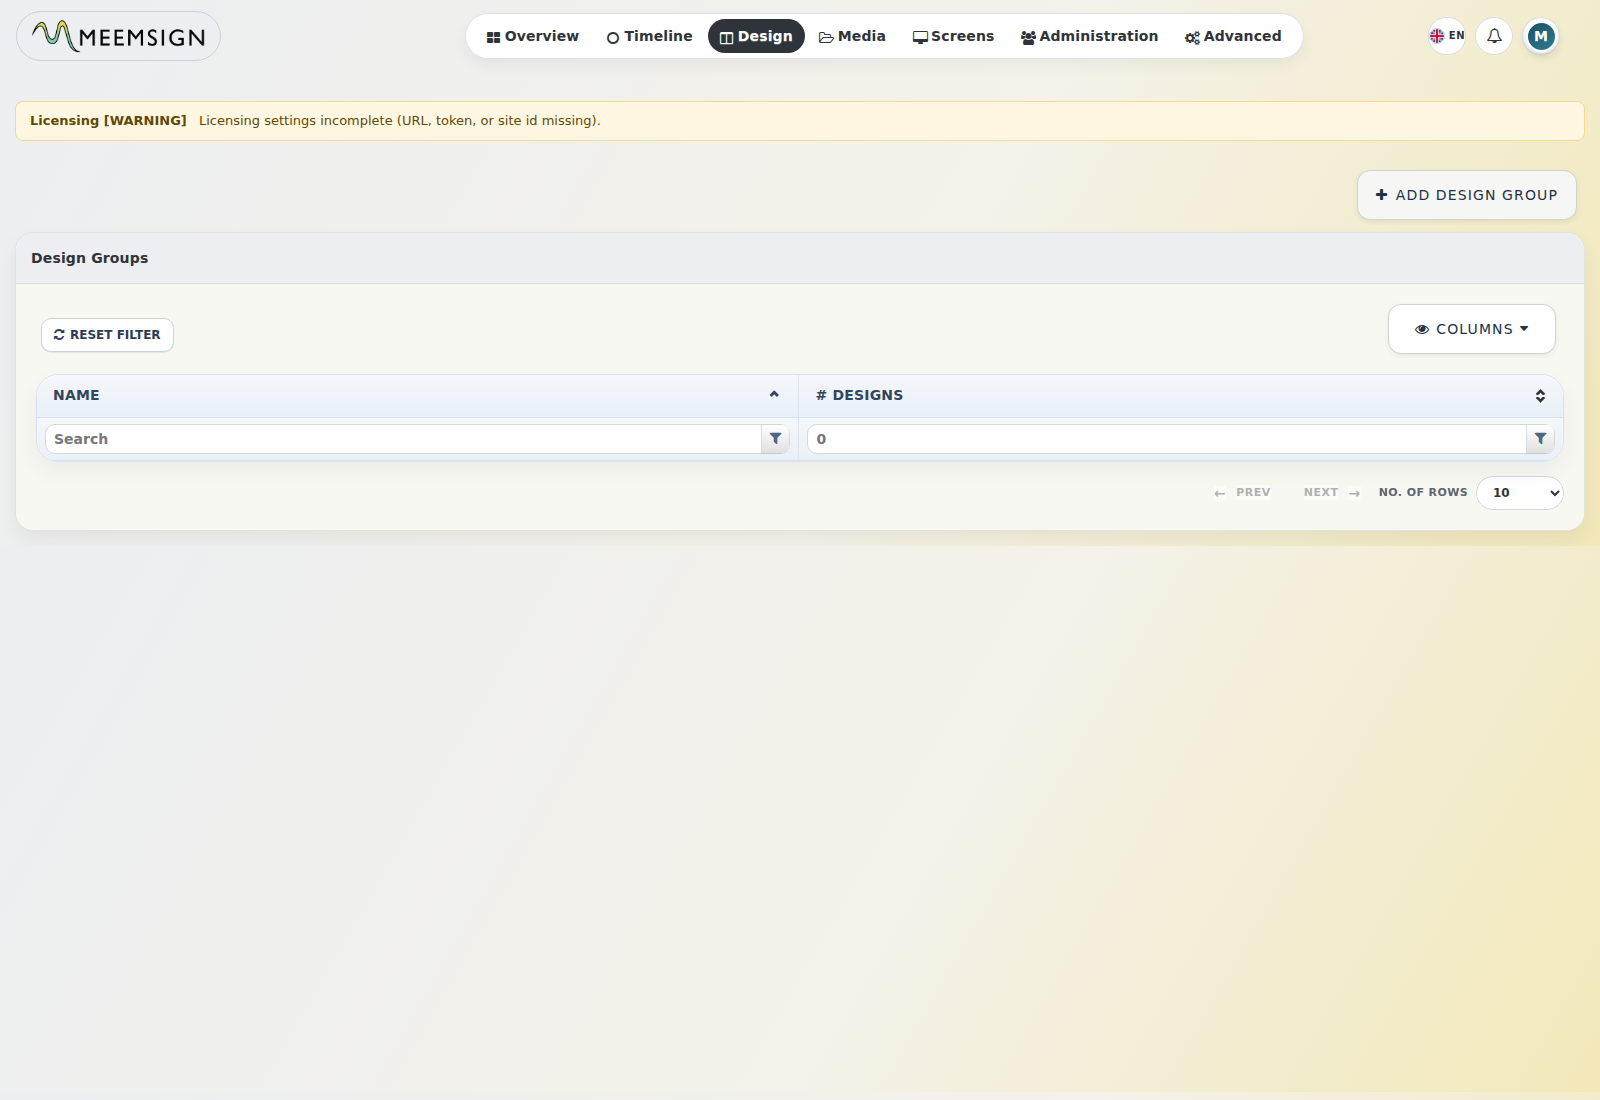
13. Design Groups / Campaigns
Design Groups are implemented as campaigns.
13.1 Create a Design Group
- Go to Design Groups.
- Click Add Campaign.
- Enter a campaign name.
- Save.
13.2 Assign Designs to a Design Group
- Go to Design Groups.
- Open the campaign action menu.
- Select Layouts / Designs.
- Choose designs to assign.
- Click Assign.
13.3 Schedule a Design Group
- Go to Design Groups.
- Open the action menu for the campaign.
- Select Schedule Now or schedule it from Timeline.
- Select screens or groups and duration.
- Save.
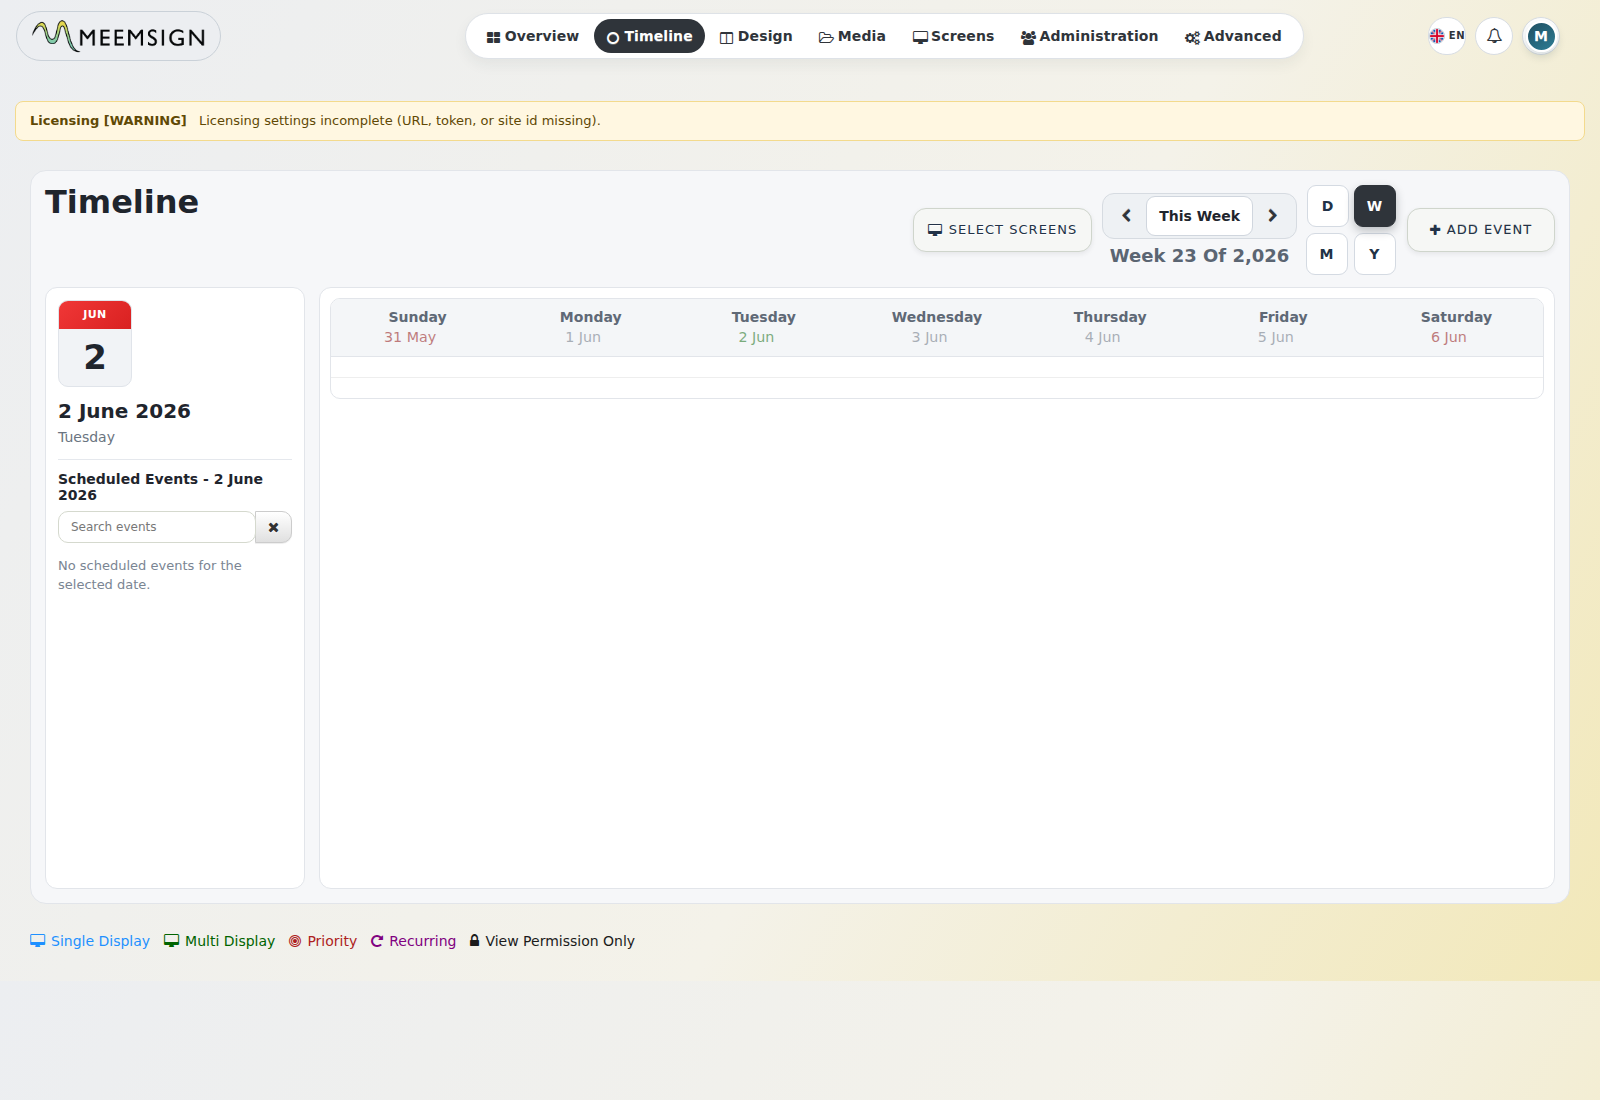
14. Timeline Scheduling and Publishing
The Timeline module schedules designs or design groups to screens or screen groups.
14.1 Open the Timeline
- Go to Timeline.
- Use date controls such as This Week, Day, Week, Month, or Year.
- Use Select Screens to filter calendar visibility.
14.2 Add a Schedule Event
- Go to Timeline.
- Click Add Event.
- Configure start date/time, end date/time, target screens or groups, design or design group, screen order, priority, repeat pattern, repeat interval, and repeat-until date.
- Save.
14.3 Edit a Schedule Event
- Go to Timeline.
- Select the event on the calendar.
- Choose Edit Event.
- Update time, targets, content, priority, or repeat settings.
- Save.
14.4 Delete a Schedule Event
- Go to Timeline.
- Select the event.
- Choose Delete.
- Confirm deletion.
14.5 Schedule Now
- Open the action menu for a design or campaign.
- Select Schedule Now.
- Set duration in hours, minutes, and seconds.
- Select display target and display order.
- Choose priority if required.
- Save.